

This week we looked at some Photo Real Tees that showed off some cool photos. Now, we're giving you the chance to learn how the artists made them. This DIY tutorial blog has 3 different tools to help you create photo real tee designs. To see some examples of photo real tees, click here to read our latest blog.
Remove any solid-colored background from your image
How to vignette or give your photo transparent/soft edges
How to put images inside of text
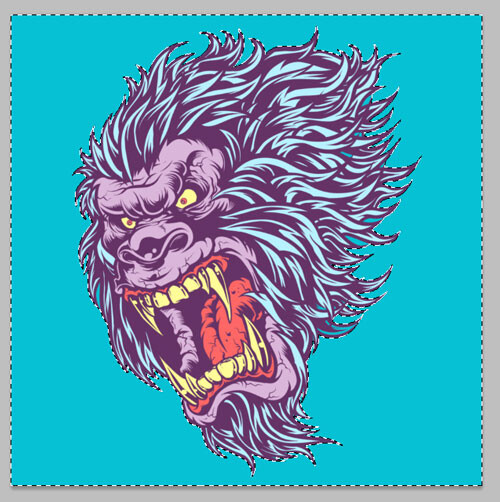
Remove the background of an image with a solid color background
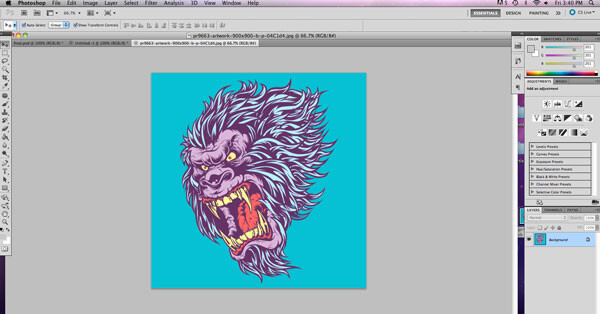
1. Drag an image into Photoshop that has a relatively one-color background
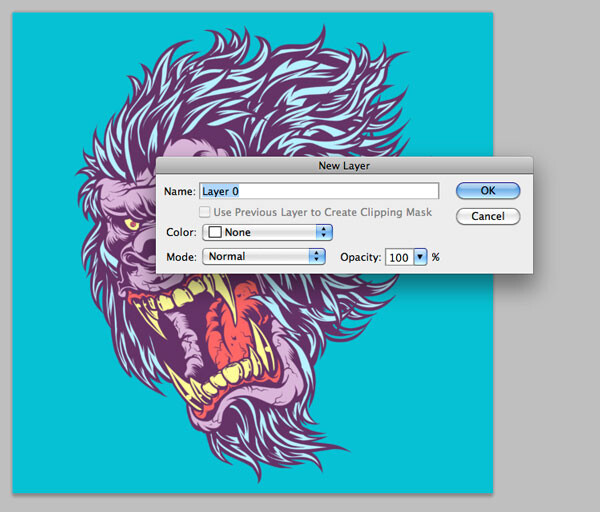
2. Double click on the image layer to turn it from "Background" to "Layer 1"
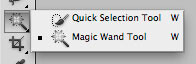
3. Choose the magic wand tool and adjust the settings. A low tolerance, such as 25, will select less of the color in tight areas (like around his fur). A higher tolerance like 60 will select a lot more into the tight areas, but can sometimes select other colors.

4. Select the background and delete it
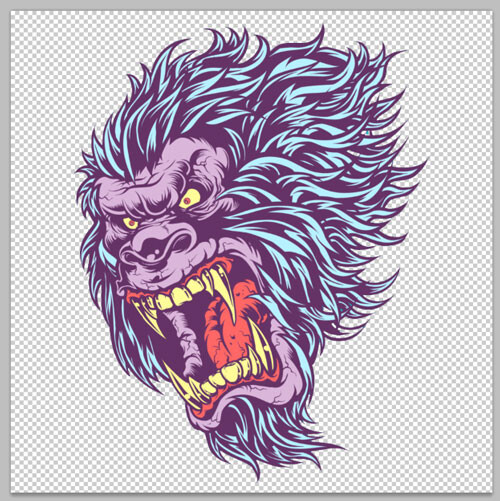
5. To keep the transparency settings, you need to save your image as a PNG or a PSD file and place it into other documents
If you would like to remove the background from any image, click here for another simple tutorial that shows you how to erase the background of any image using the eraser tool.
Creating a vignette
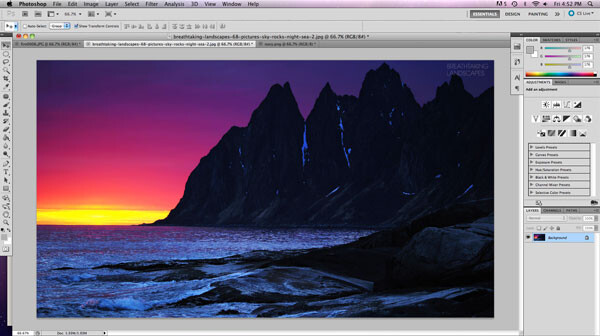
1. Pull your image into Photoshop
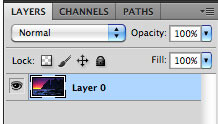
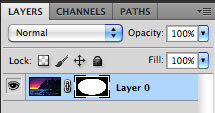
2. Make the background image into a layer by double clicking it
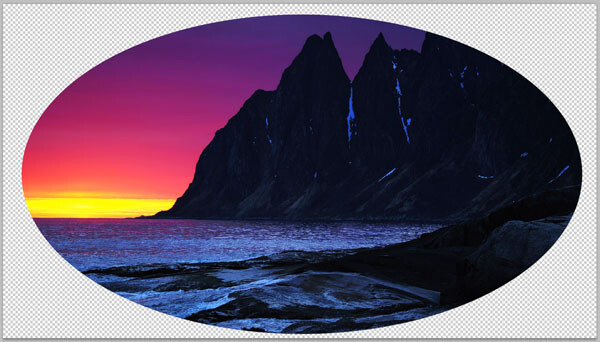
3. Select the marquee tool and create a square or circle around your image. Then, CMD>CLICK the layer to create a layer mask.
5. Select the layer mask (black and white circle) and click filter>blur>gaussian blur. Adjust the settings to what you like.
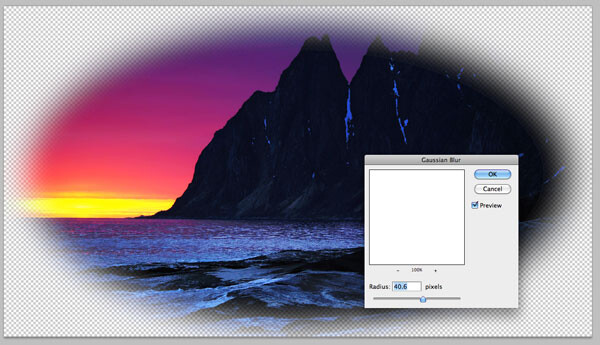
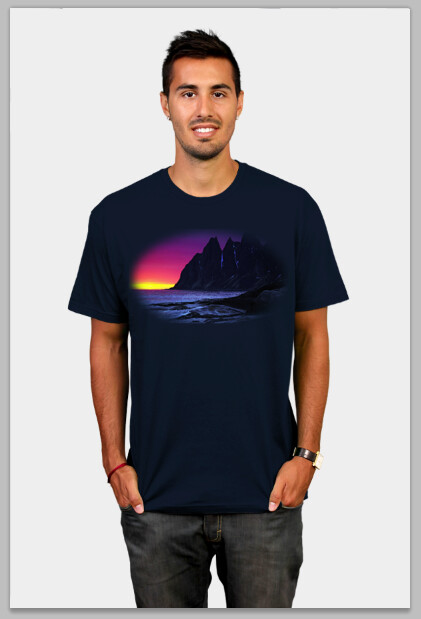
6. Then, you can place your image onto a tshirt! The gaussian blur will keep your image looking like a cut and paste from your desktop.
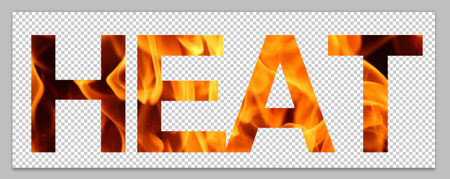
Put an image or texture inside of type
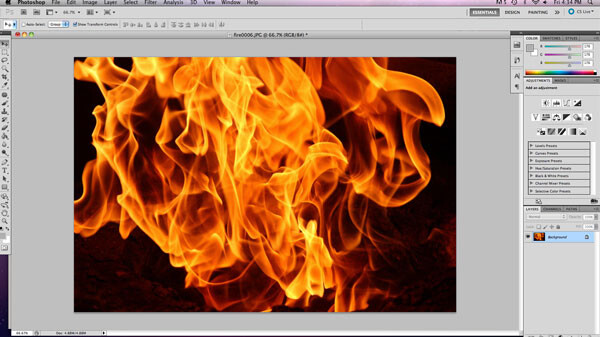
1. Grab a cool texture photo and pull it into photoshop
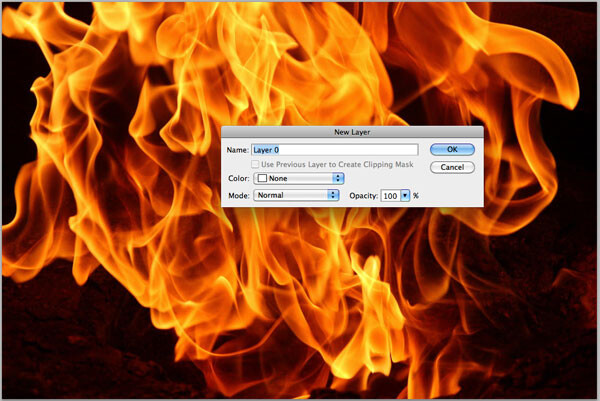
2. Turn the background image into a layer by double clicking on it
3. Add type onto your image. By clicking the type tool and dragging a new type box, a new layer is created.
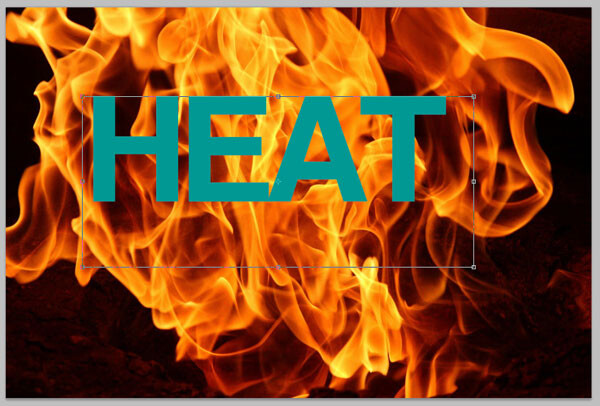
4. Make sure your text layer is under your texture/photo layer

5. CTRL>Click>Create Clipping Mask on the texture/photo layer
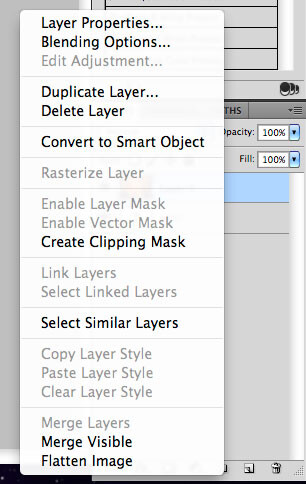
6. Now your text should be filled with your image or texture. You can select the image layer and move it around if it's not placed where you want it.