


Design Tips For Illustrated Tees
"There is no line between fine art and illustration; there is no high or low art; there is only art, and it comes in many forms." ' James Gurney
Let's say you've finally completed your killer T-shirt design, and you're sure it's going to be a big hit. Only one problem - you've sketched it by hand. Here at DBH, we know transferring your illustrations to the computer can sometimes be a challenge. You can lose small details and linework between the scanner and digital programs that you use - but we're here to help!
Here's some tips for our artists to get your awesome illustrations onto the computer without losing the quality and integrity of your design.
Add A Transparent Background To Your Images
NOTE: If you've already got your design ready to go and just want to add a transparent background, you can download our pre-made template (located in your artist dashboard), add your design, and save it as PNG. More detailed instructions are located in your dashboard.

How To Transfer Your Illustration To The Computer
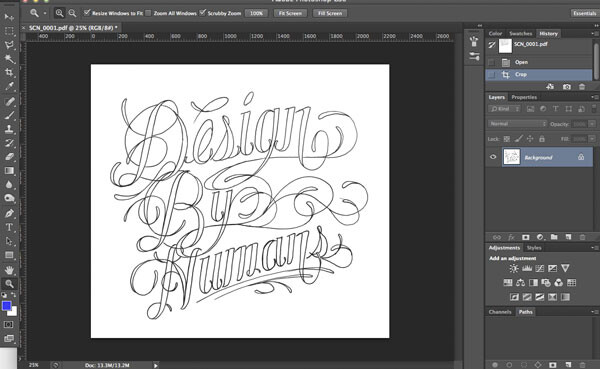
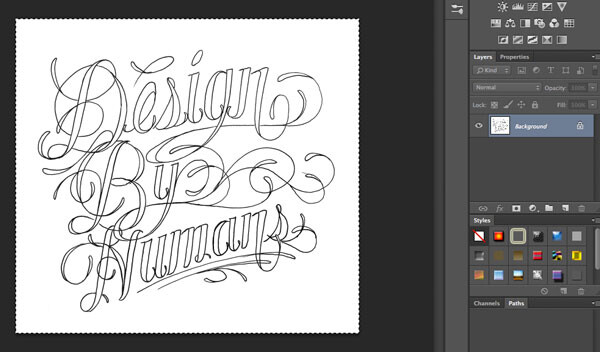
Step 1: Create your illustration and scan it into your computer. Then open the file in Photoshop.
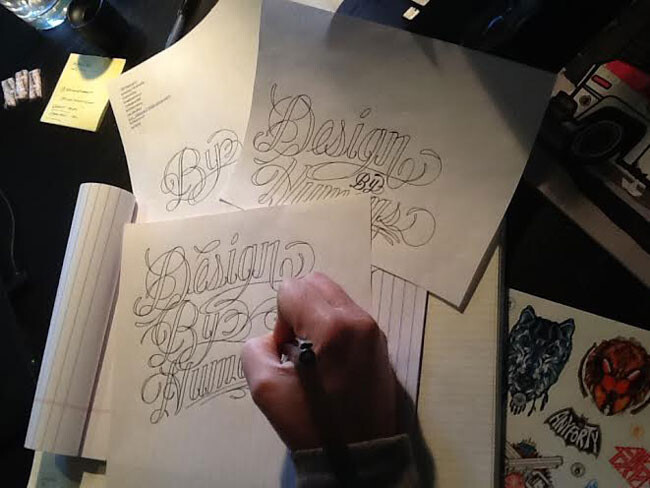
Check out our Brand Manager Jed aka SEIZER sketching out some DBH type
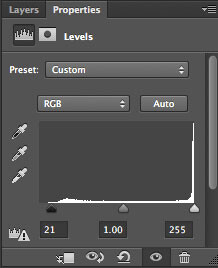
Step 2: Add a levels adjustment layer and create some stark contrast (get rid of gray tones so your illustration is mostly black and white)
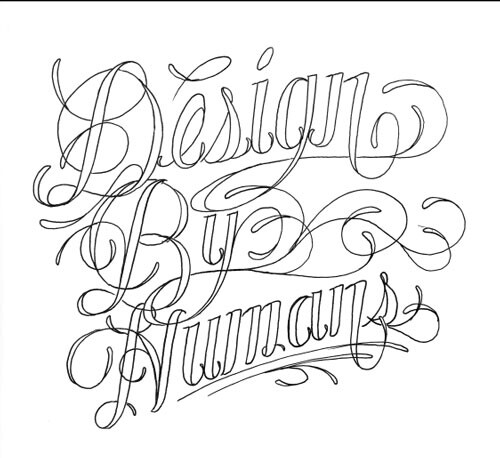
Step 3: Flatten all the layers in the palette. There should be only a background image in your layers panel.
Step 4: This next step involves the Channels palette. You can find the Channels palette next to the layer palette, or you can Window>Channel. Create a new Channel. It will be called Alpha1 by default. Select the RGB channel and Copy or CMD>C your image selection.
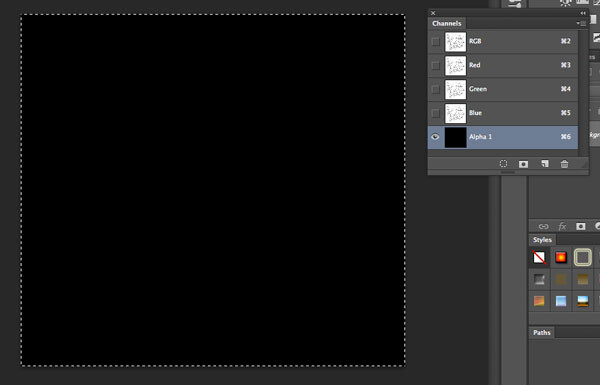
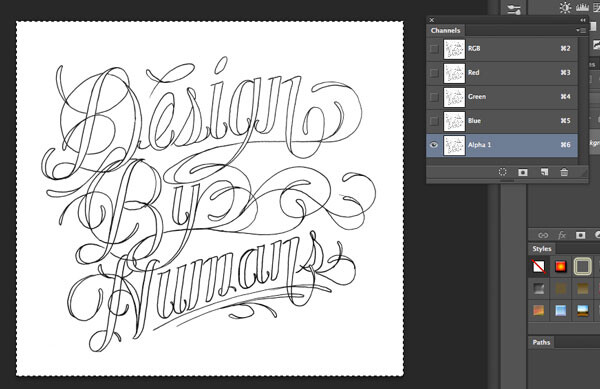
Step 5: With the Alpha 1 Channel still selected, Paste or CMD+V your illustration into that channel. Instead of just flat black, your illustration';s coloring should now be in that channel.
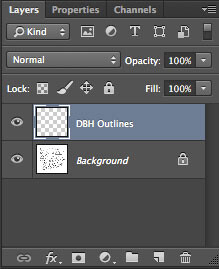
Step 6: Click back to the layers palette and add a new layer. You can name it whatever you like.
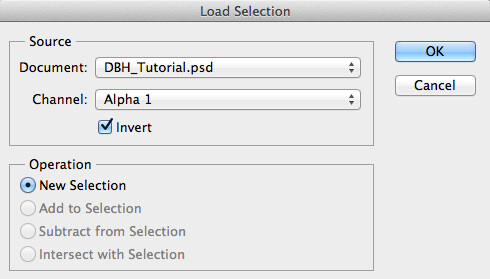
Step 7: Click Selection>Load Selection. The Load Selection window will pop-up. In Channel Options, click Alpha 1 (the channel you just created) and make sure to click the Invert box.
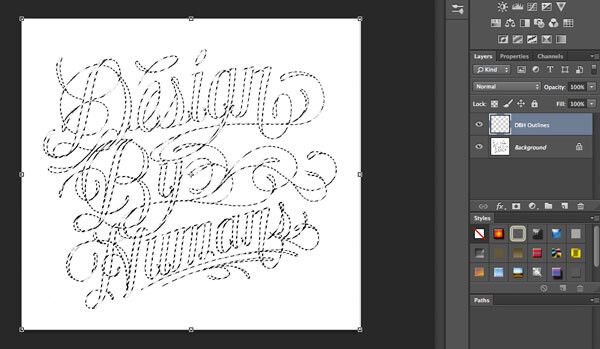
Step 8: Your illustration should now appear on the screen, fully selected. If you hide the background layer (by clicking the eyeball), your illustration should appear.
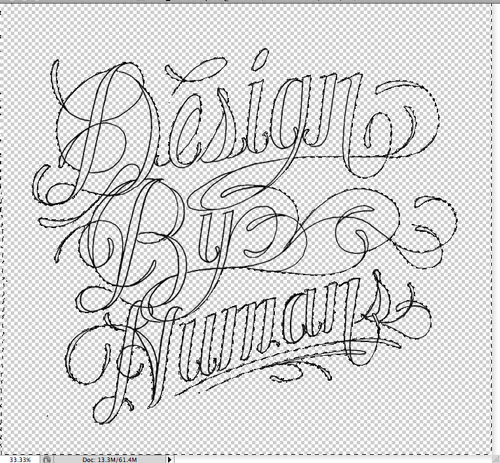
Step 9: Choose a color to fill in the lines of your illustration. Then click Edit>Fill. This should add the color to your entire drawing. We chose to fill our lines with black for this example. You can now deselect everything on your pasteboard by using CMD+D.

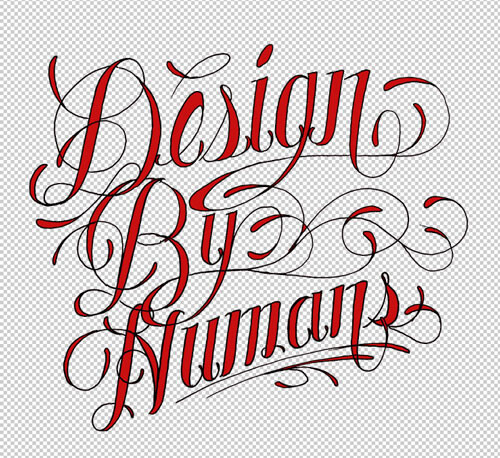
Step 10: Make a copy of the layer with your illustration on it. Using the Magic Wand selection tool (on the copied layer), select the specific parts of your illustration that you want to color.
Step 11: Once they are selected, click Edit>Fill to choose a color or pattern. We filled ours with a dark red.
Step 12: Clean Up. You can now delete the original background layer because you will not need it anymore. You can also add some background colors to your image. We added some spray paint and drop shadow effects.
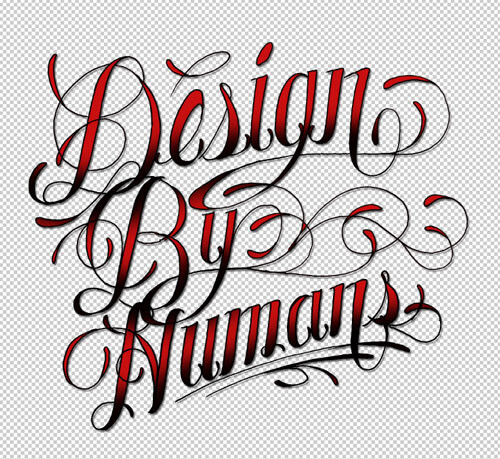
Step 13: Save your image as a high-quality PNG wth 150ppi, make sure transparency is selected, and you're ready to upload your design to your DBH Collective Store.
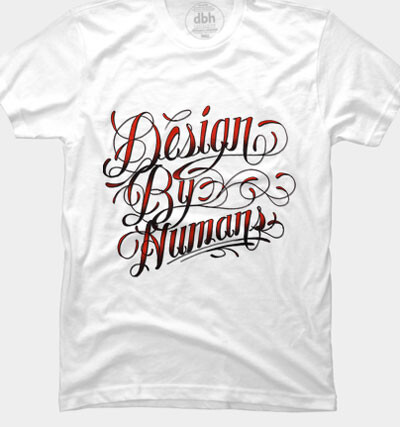
I hope this tutorial shed some light on getting your illustrations into the computer and onto a T-shirt! Keep in mind that this isn't the only way to get your illustrations onto the computer - but it's one of many ways that makes the process easier. Feel free to post other tutorial links you find helpful below, and we can't wait to see more of our artist's handiwork.